CS184 Final Project: Rendering Worlds With Two Triangles
Grace Lightner (SID: 25140690)
Kasra Ferdowsifard (SID: 3033238080)
Yuxi Feng (SID: 3033533533)
Final Video
Abstract
Instead of the mesh representation we learned in class, we can represent a scene using a signed distance function (SDF). Evaluating scenes in this way is much faster and takes up less space than traditional raytracing. We use GLSL shaders to render our scene, which we can create using just two triangles: upper left and lower right. We created a local interface from scratch, and then implemented Blinn-Phong diffuse lighting, soft shadows, ambient occlusion, bump mapping, and a moving camera. We also created more complex geometric scenes to highlight our features.
Technical Approach
Creating a desktop application with OpenGL
We use GLAD for retrieving OpenGL functions on each platform, and GLFW for creating a window instance. We defined a Shader class to utilize GLFW’s shader functions for loading a vertex and fragment shader from a given path. This let us write our shaders as separate files, and even update the fragment shader during the program’s execution. Since shaders are compiled at runtime, we simply compare the shader file against the current running shader, and if a change is detected, we recompile the shader in between frames. We use CMake as our cross-platform build system for Linux and Mac. Due to the multiple dependencies, building on Windows requires more modifications, so we keep a separate Visual Studio project updated alongside the CMake project. The actual project content are identical, but the latter project uses Visual Studio's project files for including and linking the dependencies.
Concept: SDF
Signed distance functions return the shortest distance between the input point and the object it represents. The sign of the return value indicates if the point is on the surface of (zero), outside (positive), or inside (negative) the object. For example, a sphere centered at the origin with radius 1 would have an sdf f(vec3) = length(vec3) - 1. We can use this to create geometries, and transform them using union, difference, and intersect. Examples of some common SDFs can be found here
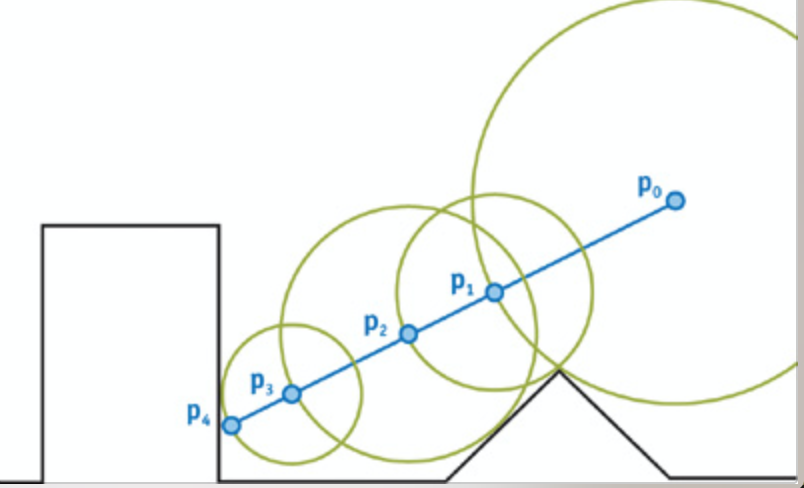
Algorithm: Ray Marching
Ray marching operates with the same general idea as ray tracing: send a ray out into the scene and figure out where it intersects. Since the entire scene is defined by an SDF, we move along the ray incrementally and test its position against the SDF. If it’s negative or 0, we’ve hit our scene and are done. The amount we increment each time will be the shortest distance between our starting point and the surface (not necessarily in the ray direction). This means that we move along the ray quickly but ensures we won’t overshoot the surface with any step. We implemented raymarching according to the algorithm defined here.
Technique: Soft Shadows
Conceptually, testing if a point is in shadow is similar to ray tracing: cast a ray from the point towards the light source and see if it hits anything before it reaches the light. To test for soft shadows, we test if the ray we traced was close to hitting a shadow-casting object, which we can determine by evaluating the SDF (the smaller the result, the closer the ray was to an object). The closer to hitting, the darker the soft shadow. We also give darker soft shadows to points on the surface close to the object that cast the shadow.
Technique: Ambient Occlusion
Ambient occlusion determines how exposed a given point is to ambient lighting, and darkens enclosed and sheltered areas based on the geometry of the scene. To calculate a point’s ambient occlusion, we look at how close it is to other objects in the scene based on its normal vector.
|
|
Technique: Bump Mapping
To make the surface of an object appear bumpy, we pass the normal through a bump-mapping function, altering it before we calculate lighting. We use a technique similar to calculating the regular normal to calculate the gradient along each axis at the input point. We then use the gradient to index into a 3D bump function, which we combine with the original normal to give us an altered, “bumpy” texture. We could also use this technique to index into a texture map, which would actually render faster; however, we considered this to be too complicated for the scope of this project.
|
|
Technique: Moving Camera
To create the camera, we implemented a class to keep track of its position, up and right vectors in world space. We calculate the camera target by taking the cross-product of the up and right vectors. We used GLFW's glfwGetKey() functions to check for keyboard inputs once per frame. The WASD keys move the camera forward, backwards, left and right, by simply changing the camera's position along the requested direction by a "velocity" amount. The arrow keys are bound to rotating the camera. For rotation, we used Rodrigues' Rotation Formula. For vertical rotation, we rotate the up vector along the right vector, and similarly for horizontal rotation, we rotate the right vector along the up vector. Finally, in the fragment shader, we used the camera's position, target and up vectors to create the "Look-at" matrix and render the scene.
Problems Encountered
- Creating the application build for Linux/Mac with CMake was very simple, because both systems store their library and include files in standard predefined paths. However, building on windows was very difficult at first, because the suggested method we found was to use the Windows CMake GUI to convert the CMakeList to a Visual Studio project automatically. However, since we also had to build the dependencies manually, setting up all the paths proved to be very difficult and time-consuming. In the end, we decided to simply keep a Visual Studio project updated alongside the main CMake version.
- We ran into an issue where rotating the camera vertically for more than 180 degress caused stragne buggy behavior. After a few hours of testing, we noticed that we had forgotten to use the real up vector to create the "Look-at" matrix.
Lessons Learned
- We learned the distance fields representation and the ray marching argorithm, which also gave us new insight as to the variety of methods we can use to render scenes in computer graphics.
- We learned more about OpenGL in building the whole project from scratch.
- The basic + aspirational planning approach was very helpful. We were never frustrated because of behind schedule or lack of motivation because of being ahead of schedule, as we were always in between the 2 schedules. This planning method should be applied more often in future.
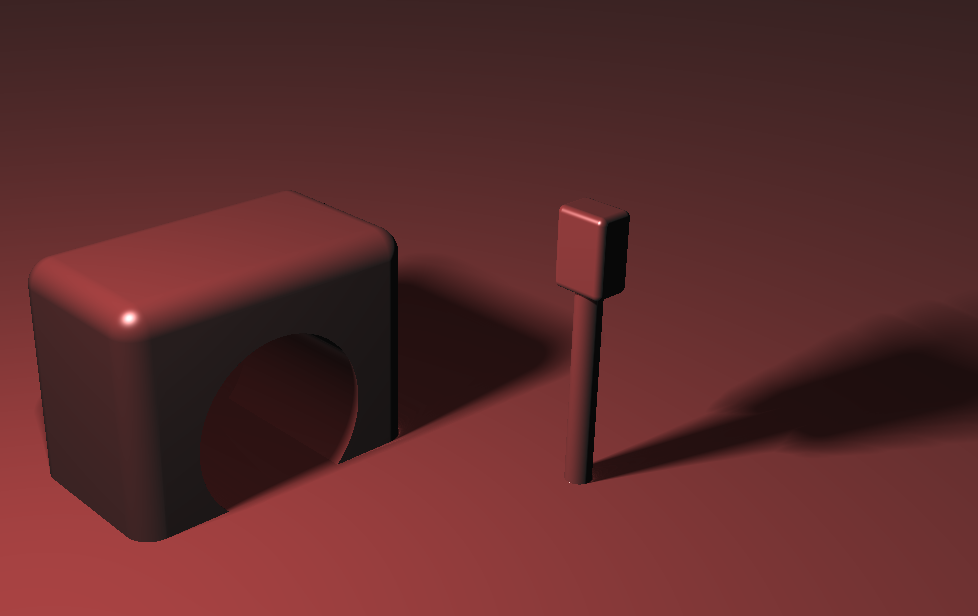
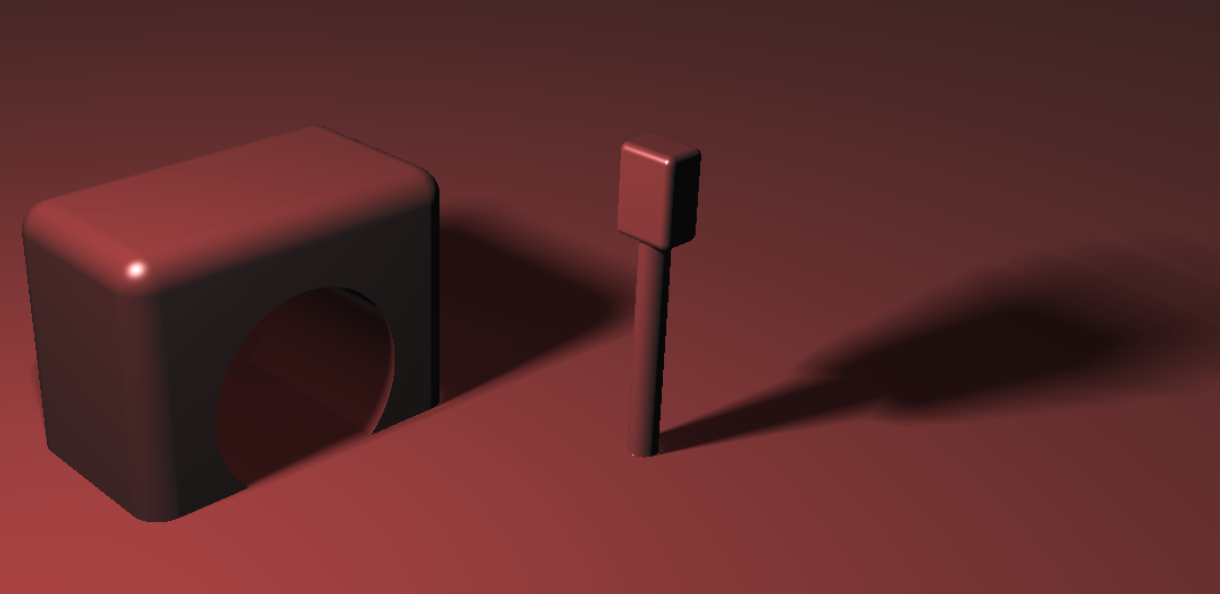
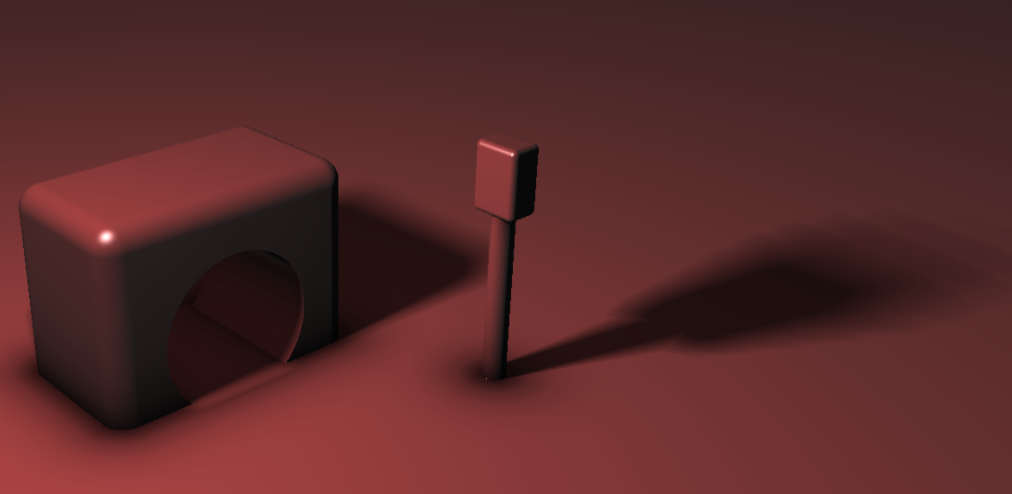
Results
Images
|
|
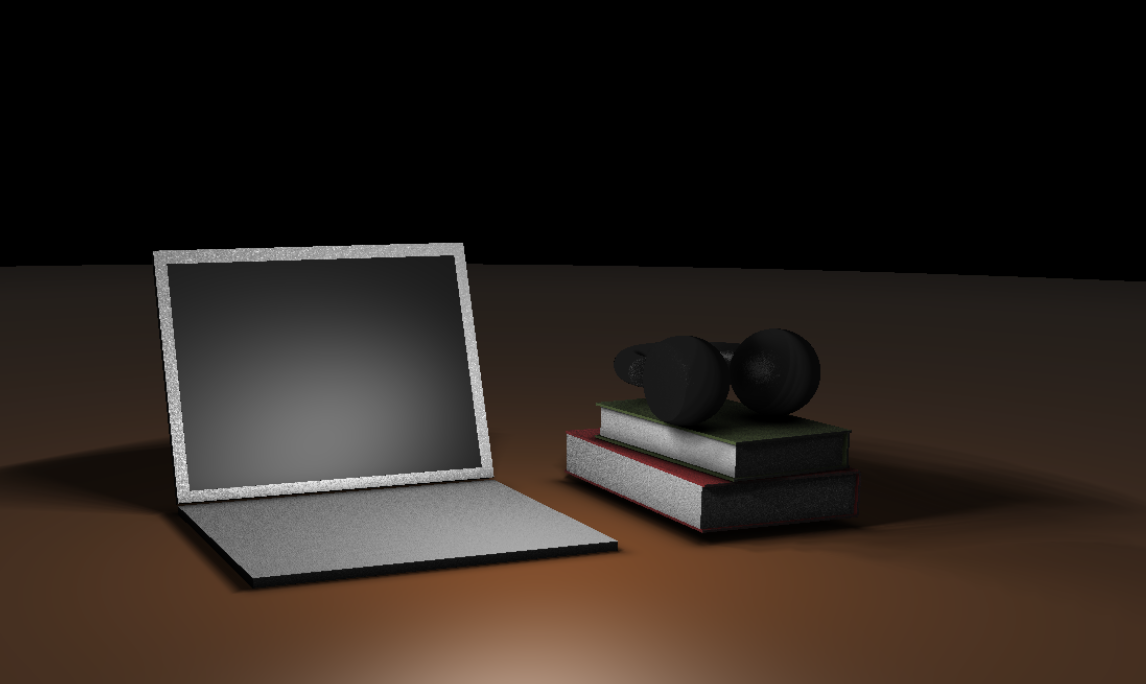
|
|
Speed Comparison
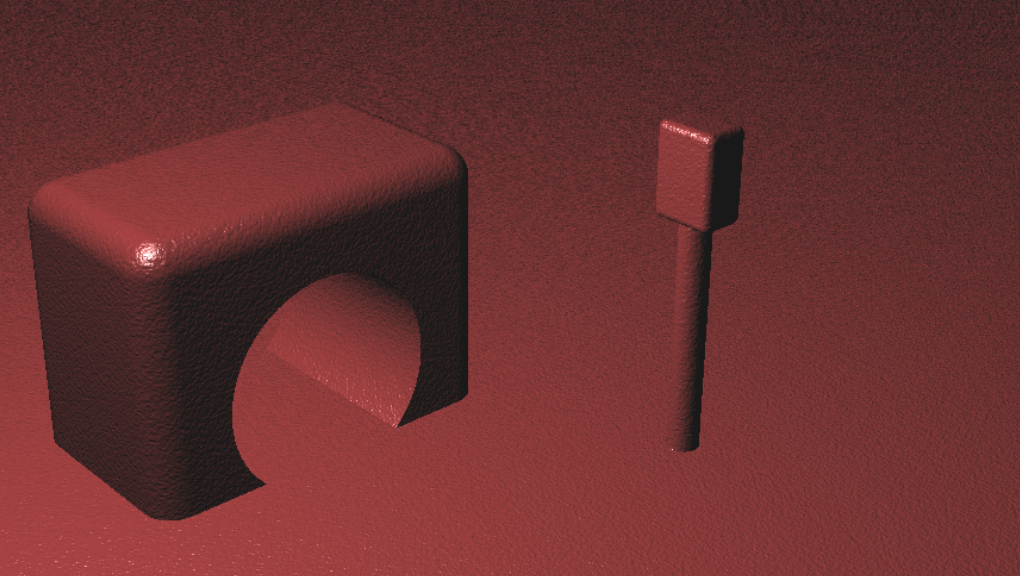
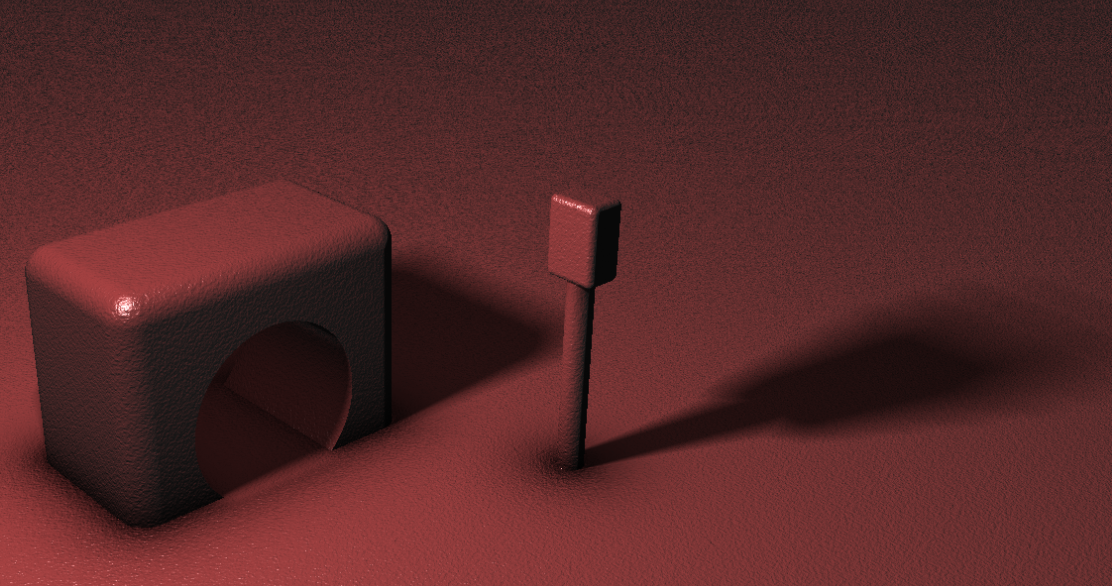
We see a huge performance improvement by moving from ray tracing to ray marching. Although the two images below are not identical, they are similar enough to notice the enormous difference in render speed. The left image, rendered using traditional ray tracing, took 963 seconds (about 16 minutes) to render, whereas the right image, rendered with ray marching, took 0.19 seconds.
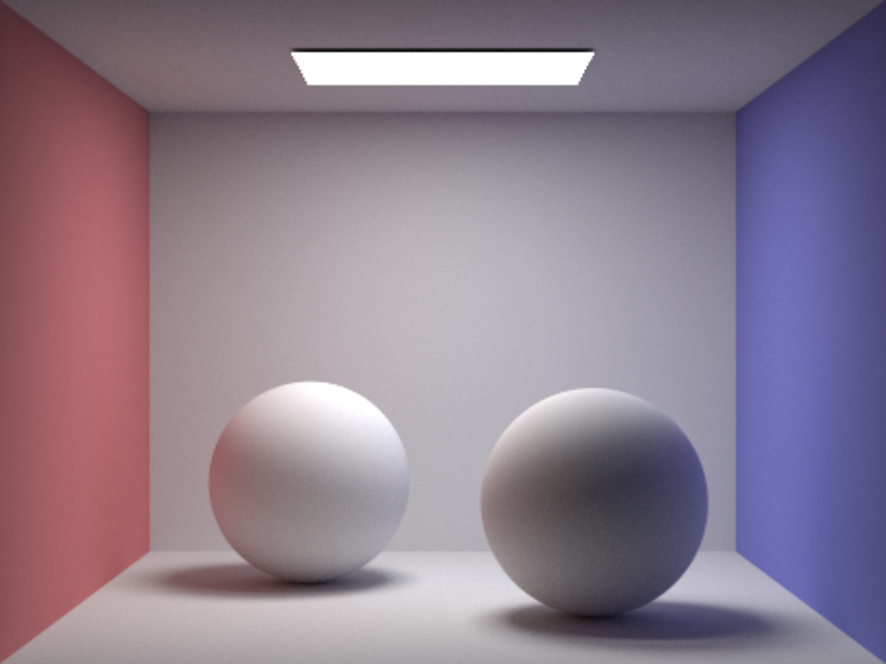
|
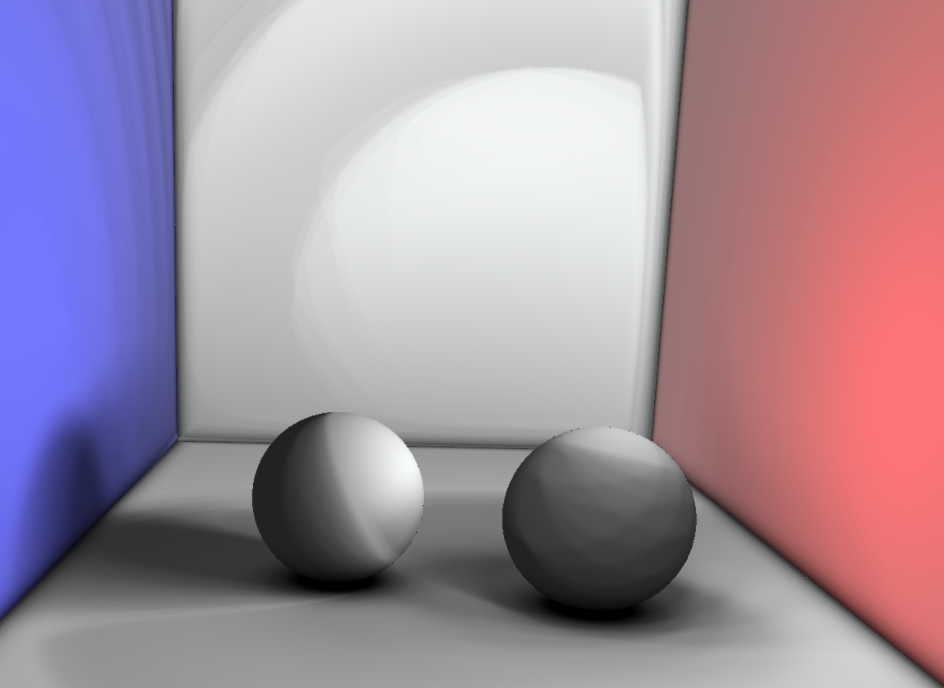
|
References
SDFs, Raymarching, transforms, etc.
Inigo Quilez's articles on SDF rendering techniques
Jamie Wong's Raymarching Tutorial
The CS184 Transformas lectures
Building the application
The GLFW library documentation
Contrbutions from Each Team Member
Grace: Added code to create soft shadows, ambient occlusion, and bump mapping. Created images and slides for both the milestone and the final presentation.
Kasra: Created the desktop OpenGL application, and the Shader and Camera classes. Wrote the starter code for the fragment shader (though much of it was replaced as we progressed). Implemented the camera movement and controls. Added support for having objects with different colors. Created the milestone and final videos.
Yuxi: Contributed the SDF functions for geometry primitives and operations. Added blinn-phong lighting. Modeled the two final scenes. Modeled the scene for speed comparison and added code for getting the rendering time.